Sunday, September 13, 2009

Using Canon CR2 Raw Formats in Windows and Photoshop

.CR2 is the raw image format supported by Canon. Models that support CR2 include:
  • EOS 400D
  • EOS-1D
  • EOS-1D Mark II
  • EOS-1D MarkIII
  • EOS-1DS
  • EOS-1DS Mark II
  • EOS-20D
  • EOS-30D
  • EOS-350D
  • EOS DIGITAL REBEL XT
  • EOS-350D DIGITAL
  • EOS-40D
  • EOS-5D
[List provided by http://www.imageconverterplus.com/help-center/about-icp/supported-formats/cr2]

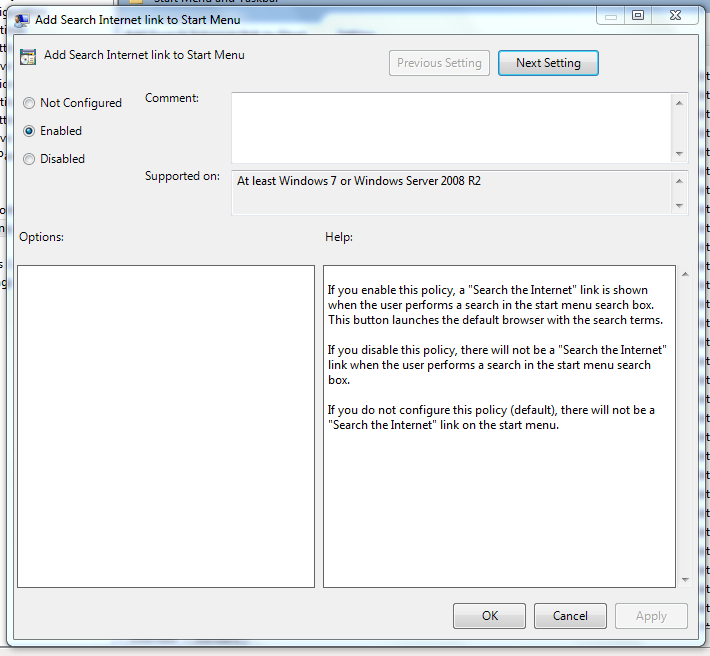
If you use any of the above models and have a habit of shooting in raw, you may wonder how to preview these images in Windows like all other Windows supported image files (such as .jpeg, .bmp, etc.).

Lucky enough, Canon provides a free codec software for consumer download. To download the software, all you need to do is to specify which Windows operating system you're using:
The installation process is also very straight forward with its setup wizard.

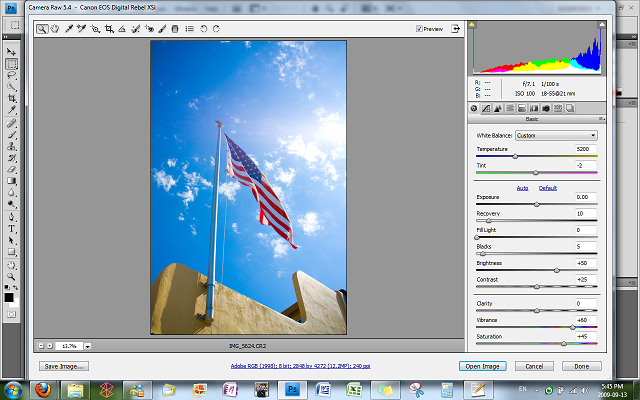
Now that you can preview the CR2 files in Windows Explorer, you may wonder how you can edit these CR2 files directly in Photoshop. Adobe offers a free Canon raw plug-in that's available at the following link:
The installation instructions are on the same page near the bottom. Basically, you just have to add/replace the "Camera Raw.8bi" file under your Photoshop Program Files directory "Plug-Ins\File Formats" folder. Note that the zip file contains two different 8bi files; one for 32-bit systems and one for 64-bit systems. Be sure to copy the correct .8bi file to the directory for the plug-in to function.

Here's a short but very useful video tutorial on Camera Raw 5:

Friday, September 11, 2009

Change Default Search on Mozilla Firefox

In my last post, we talked about how to search from the Windows 7 Start Menu. If you're a Mozilla Firefox user, and you've tried the Start Menu search from my last post, you would realize that Firefox defaults it search engine to Google (even if your actual search bar, located on the top right corner in the browser, is set to an alternative search engine). In this post, we'll go through a simple trick to set your Firefox's default search engine to your favorite search provider:
  1. Open Firefox as you normally would
  2. In the address bar, type "about:config"
  3. You'll be brought to a warning page, click "I'll be careful, I promise!"


  4. In the filter box on the configs page, type in "browser.search.defaultenginename"
  5. Double click on the row "browser.search.defaultenginename"
  6. Enter your favorite search provider's name in the pop-up box (value)
  7. Hit OK


Now try searching from the Windows 7 Start Menu as described in the previous post. As long as your default browser is Firefox, it should bring you to the search results of whatever search engine you set in step 6 above.

How to search the Internet with your Windows 7 Start Menu

Wouldn't it be nice to search the Internet through your Windows 7 Start Menu without pre-opening your web browser?

Here's how you can do it:
  1. Hit the Windows Start button
  2. Type in "gpedit.msc" and hit Enter to open up the "Local Group Policy Editor"
  3. In the navigation menu on the left, select "User Configuration" > "Administrative Templates" > "Start Menu and Taskbar" > and double click on "Add Search Internet link to Start Menu"


  4. In the "Add Search Internet link to Start Menu" policy window, select "Enabled" and click "OK"


  5. Close the "Local Group Policy Editor"
Now you're all set. Just click "Start" and start searching! It'll bring you to the results from your default search engine on your default browser. :)